Zoom meetings and webinars are an excellent way to connect with colleagues, customers, and clients. The information shared in these record Zoom can be extremely valuable, which is why recording them is essential.
If you’re wondering how to record Zoom meeting, read on for a step-by-step guide.
Why Record Zoom Meetings & Webinars?
There are several reasons why you might want to record a Zoom meeting or webinar. Some of the most common reasons include:
To review the meeting or webinar later: When you record a meeting or webinar, you can go back and review the information that was shared. This is especially helpful if you missed something the first time around or if you want to share the recording with someone who wasn’t able to attend.
To create a training video: If you’re conducting a training session, recording the meeting or webinar can be a great way to create a training video that others can watch at their convenience.
To capture important information: In some cases, you may want to record a meeting or webinar so that you have a permanent record of the information that was shared. This is especially important for sensitive or confidential information.
How To Record Zoom Meetings & Webinars
Now that you know why you might want to record a Zoom meeting or webinar, let’s take a look at how to record zoom meeting.
Method 1: Recording Zoom Meetings Via The Zoom’s Built-In Feature
Zoom’s built-in recording feature is the most popular way to record meetings and webinars. It’s quick and easy to use, and it doesn’t require any additional software or hardware.
Here’s how to record a meeting or webinar using Zoom’s built-in recording feature:
Start or join a meeting or webinar.
Click the Record button at the bottom of the Zoom window.
The recording will start automatically, and you’ll see a Recording label in the top-left corner of the Zoom window.
To stop the recording, click the Stop Recording button at the bottom of the Zoom window.
The recording will be saved to your computer automatically.
However, this technique has a few drawbacks. First, Zoom adds both audio and video watermarks to recordings made with the built-in recording feature. Second, the recordings are saved in a proprietary format that can only be played back with Zoom.
If you want to avoid these drawbacks, you’ll need to use an alternative method to record your Zoom meetings and webinars.
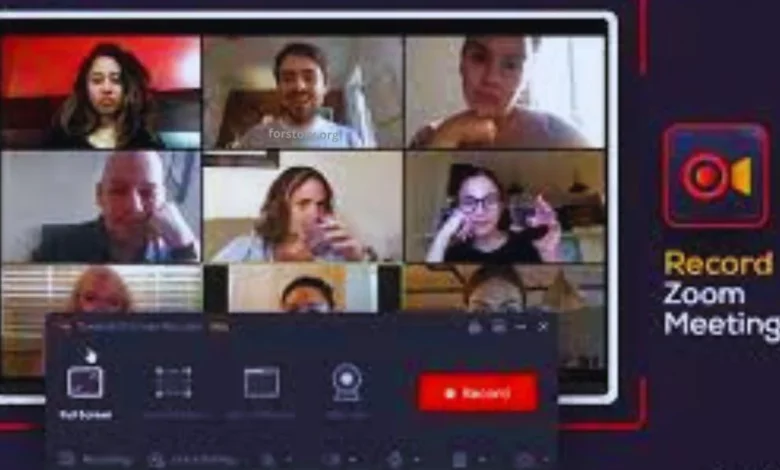
Method 2: Use iTop Screen Recorder
For watermark-free and anonymous recordings, you need a screen recorder. iTop Screen Recorder is one of the best screen recorders on the market. It’s specifically designed to record screen Windows 10, which makes it perfect for recording Zoom meetings and webinars.
iTop Screen Recorder is available for Windows, Android, and Mac, and it offers a number of features that make it the perfect tool for recording Zoom meetings and webinars.
Here’s how to use iTop Screen Recorder to record a Zoom meeting or webinar:
Download and install iTop Screen Recorder on your computer.
Launch iTop Screen Recorder and select the screen recording mode.
Set your recording preferences

Click the “Rec” button to start recording.

Start or join the Zoom meeting or webinar.
To edit your recording, go to the “My Creations” section of the iTop Screen Recorder interface.

Wrapping Up
As you can see, there are a number of different ways that you can record Zoom meetings and webinars. The method that you choose will ultimately depend on your specific needs and preferences.
If you’re looking for a secure free screen recorder to record your Zoom meetings and webinars, iTop Screen Recorder is the perfect solution. It’s easy to use and it offers a number of features that make it the perfect tool for recording Zoom meetings and webinars.
Also check